PyCharm on your user VM
To conveniently write, compile, and debug your Python scripts, we recommend using the PyCharm working environment. Below, we explain how to set up PyCharm with the VM default Python 3.6.
You can find PyCharm Community under ‘Applications’ → ‘Development’. To set up the Software Collections (SCL) Python environments, click on ‘Configure’ at the welcome screen, see Figure 1.
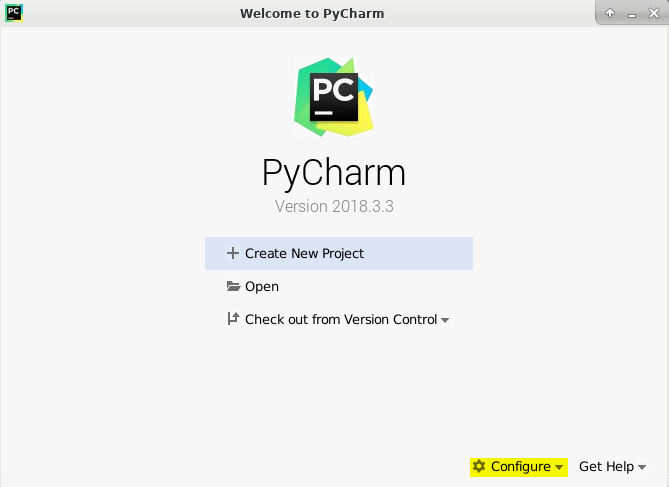
Figure 1: PyCharm Welcome screen.
Then, choose ‘Settings’ (see Figure 2) and go to ‘Project Interpreter’ at the left side of the screen. Click the cogwheel at the top-right corner to ‘Add…’ or ‘Show All…’ interpreters. Both will work, but here, ‘Show All…’ has been used.
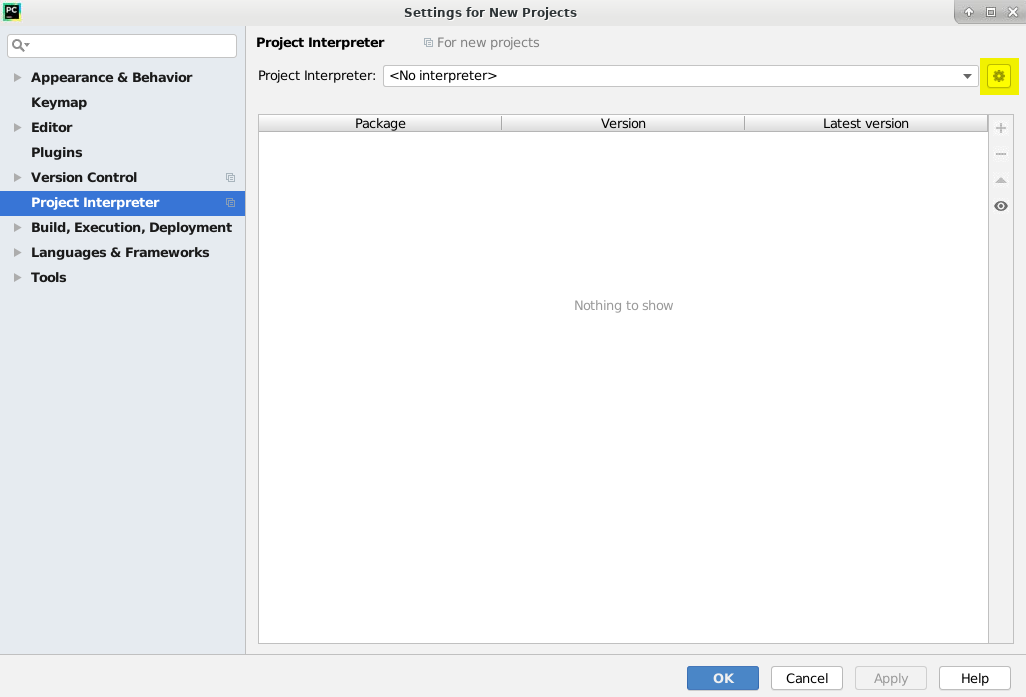
Figure 2: PyCharm Settings screen.
Clicking on ‘Show All…’ will open the ‘Project Interpreters’ window. To add an interpreter, click the ‘+’ sign. To add the Python 3.6 interpreter, see below.
- Choose ‘System Interpreter’ in the left tab.
- Choose ‘/usr/bin/python3.6’ from the list.
Figure 3 shows what the screen will look like.
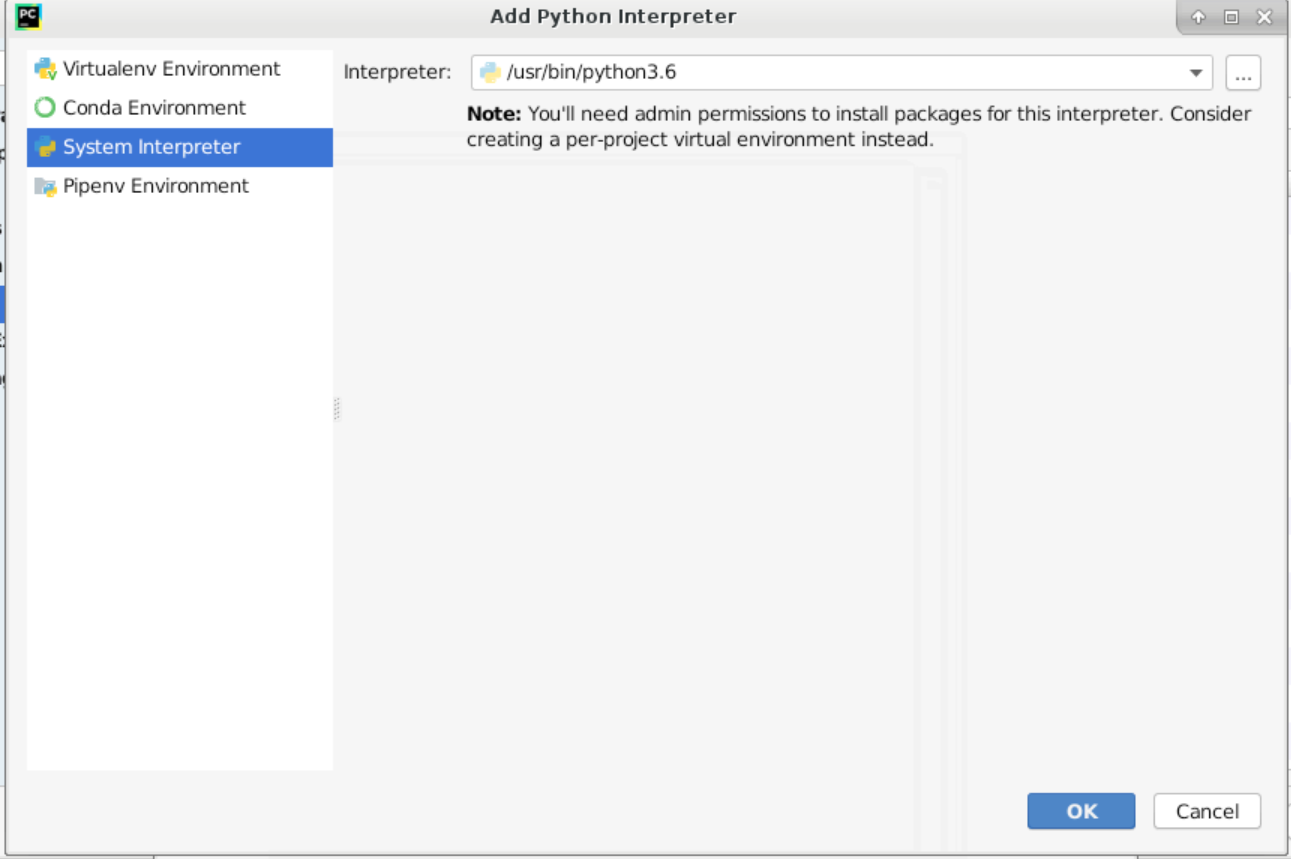
Figure 3: PyCharm with Python 3.6.
- Press ‘OK’
- Press ‘OK’ again on the ‘Project Interpreters’ screen
- It should start loading all the Python 3.6 packages. Click on ‘Apply’ and then on ‘OK’ to finish. This will start updating the Python interpreter, this might take a while (you can click on ‘Background’ to update in the background).
- Now, when creating a new project, choose this interpreter to use the SCL Python 3.6 environment.