Publish a services
The EOplaza provides a self-service onboarding wizard that enables users to publish their services effortlessly. It assigns a service maturity label to each onboarded service.
Developers can publish their algorithms as services on EOplaza. These algorithms must be implemented as openEO User Defined Processes, focusing on Earth Observation solutions and utilizing openEO standards. When set as public, the service is then available to all users like any other service in the portal.
![]()
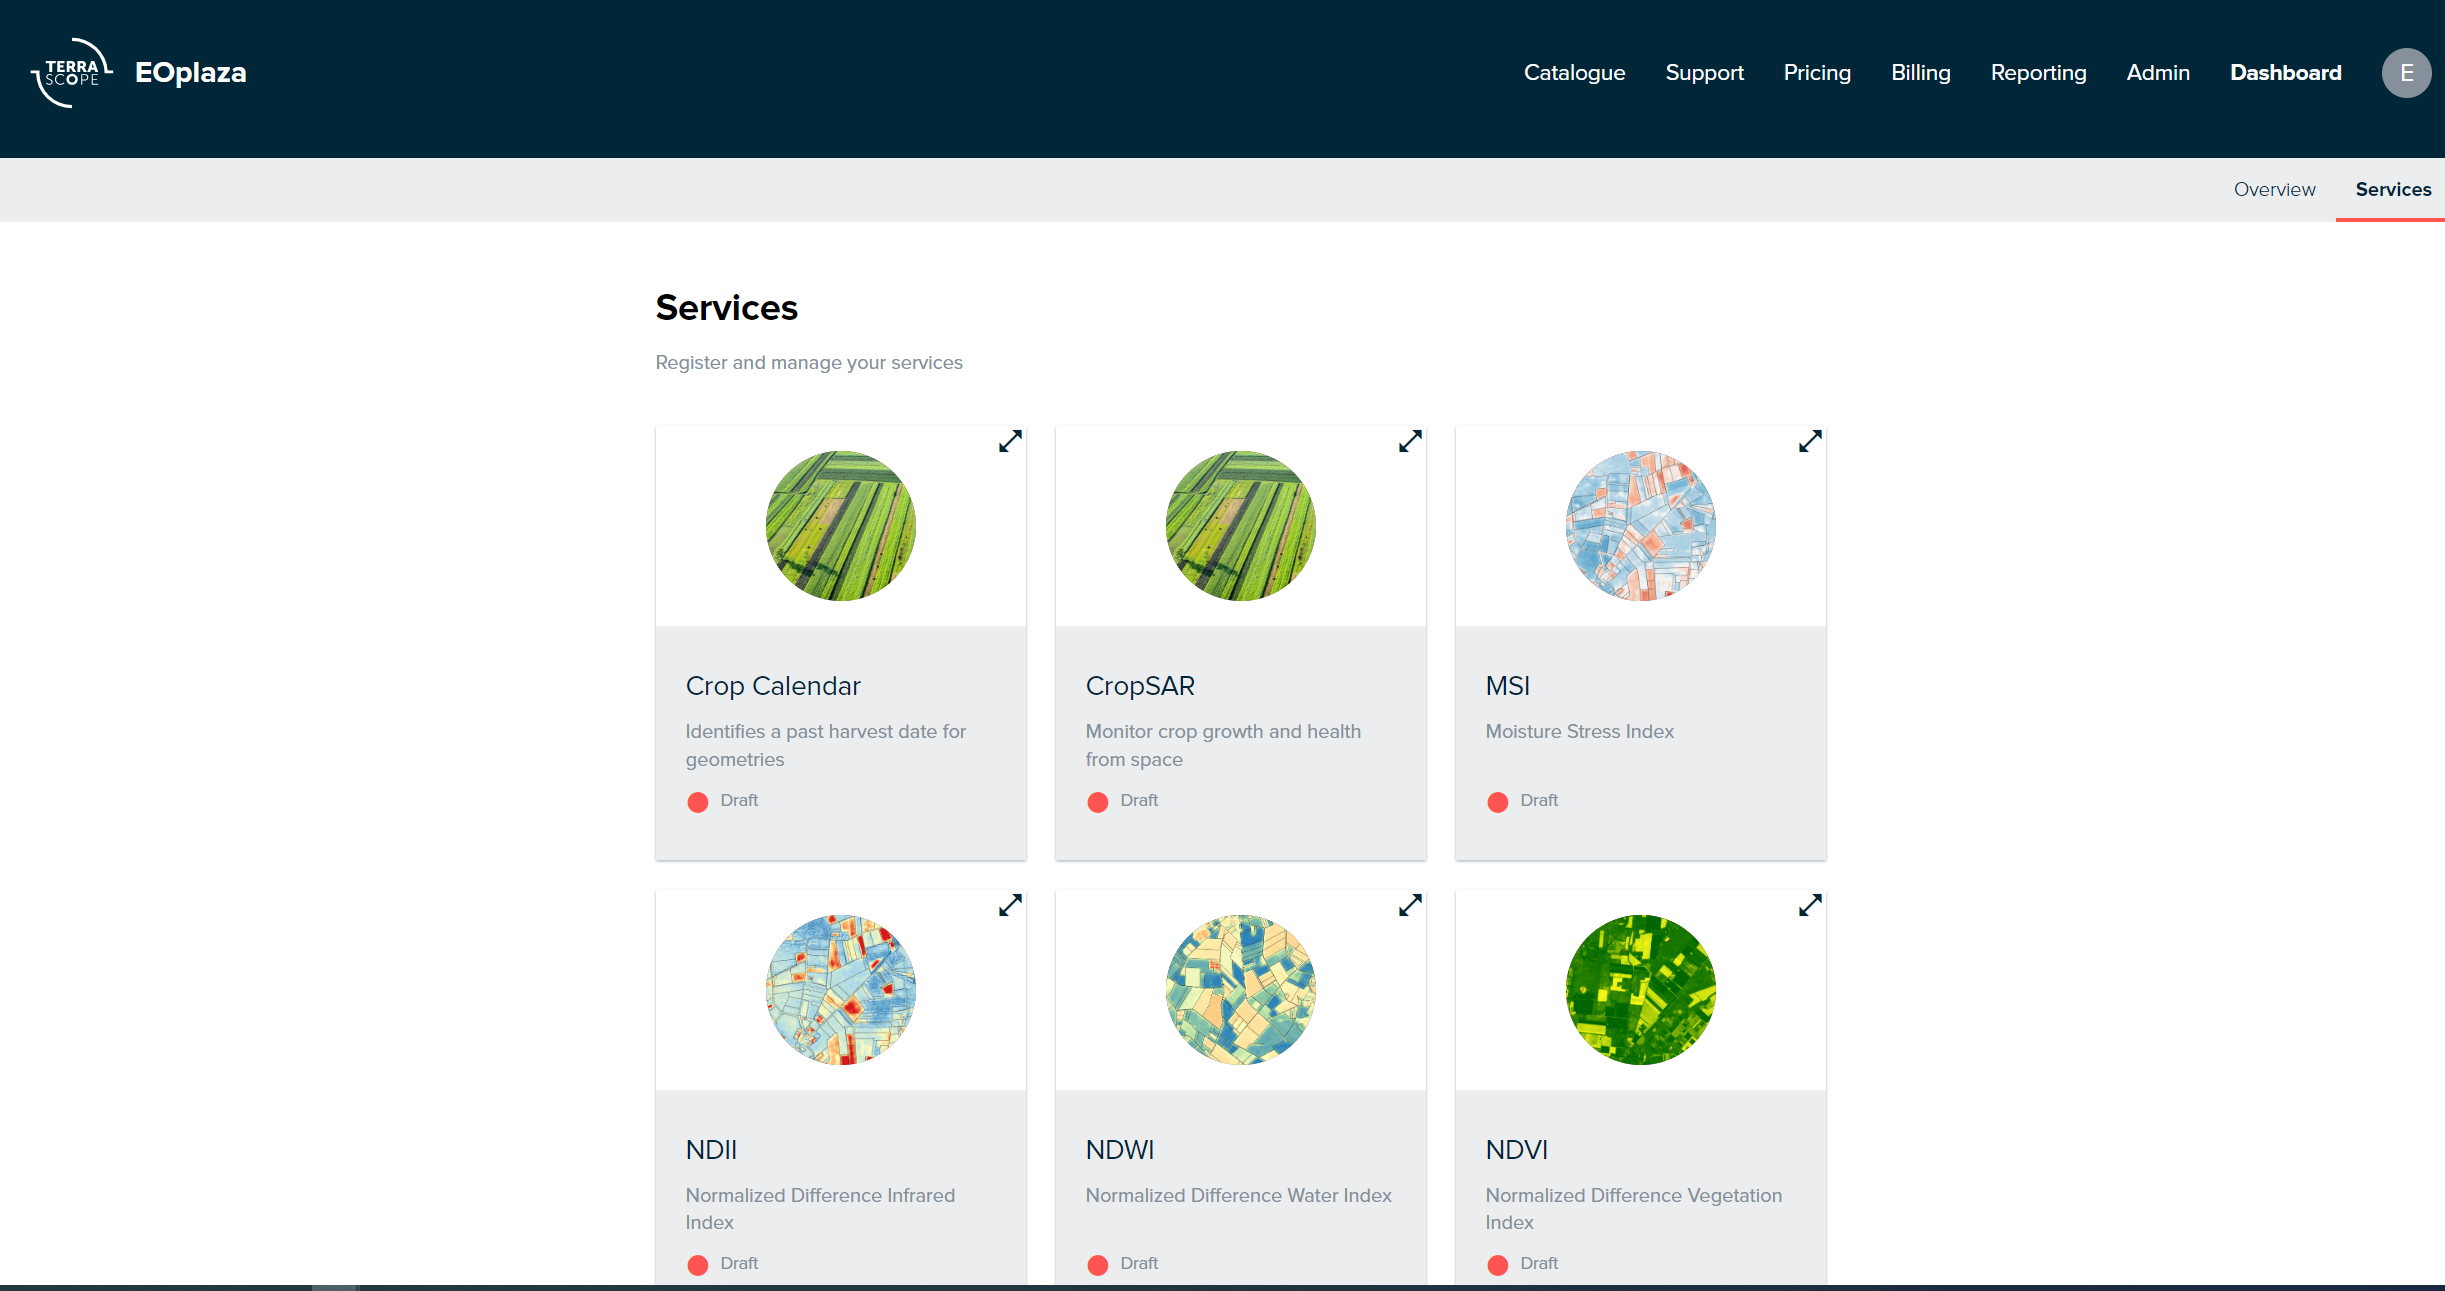
Developers are directed to the following screen when “Services” is selected from the sub-menu options under the “Dashboard”. If no services have been published yet, an option to “REGISTER YOUR FIRST SERVICE” is displayed. However, if services have already been published, a list of the services published by the developer or their organization is shown.
Developers who are members of multiple organisations and intend to publish an algorithm from specific organisations must ensure they are logged in to that particular organisation. This can be verified by navigating to the profile page and, if needed, switching the ‘Linked Organization’.
Developers can click on the avatar or the service’s name to load its detail page. Additionally, clicking the REGISTER NEW SERVICE CTA button allows users to add/create a new service.
Develop an openEO algorithm
In openEO, a ‘datacube’ view is used, which hides much of the complexity when working with huge EO data archives. It provides full archive access to the most popular datasets. To integrate existing code, the concept of ‘User Defined Functions’ (UDFs) can be used. Furthermore, Parallelisation and scalability are taken care of.
Working with openEO
To get familiar with openEO, it is recommended to start with the basic introduction on using openEO. For deploying an openEO algorithm as a service, developers can use the ‘user defined process’ functionality.
Register and publish your service
Once an algorithm is ready, developer can register and publish it.
Clicking the Register your first service button presents a wizard to enter the necessary information regarding the service. The following sections guides through the publishing process:
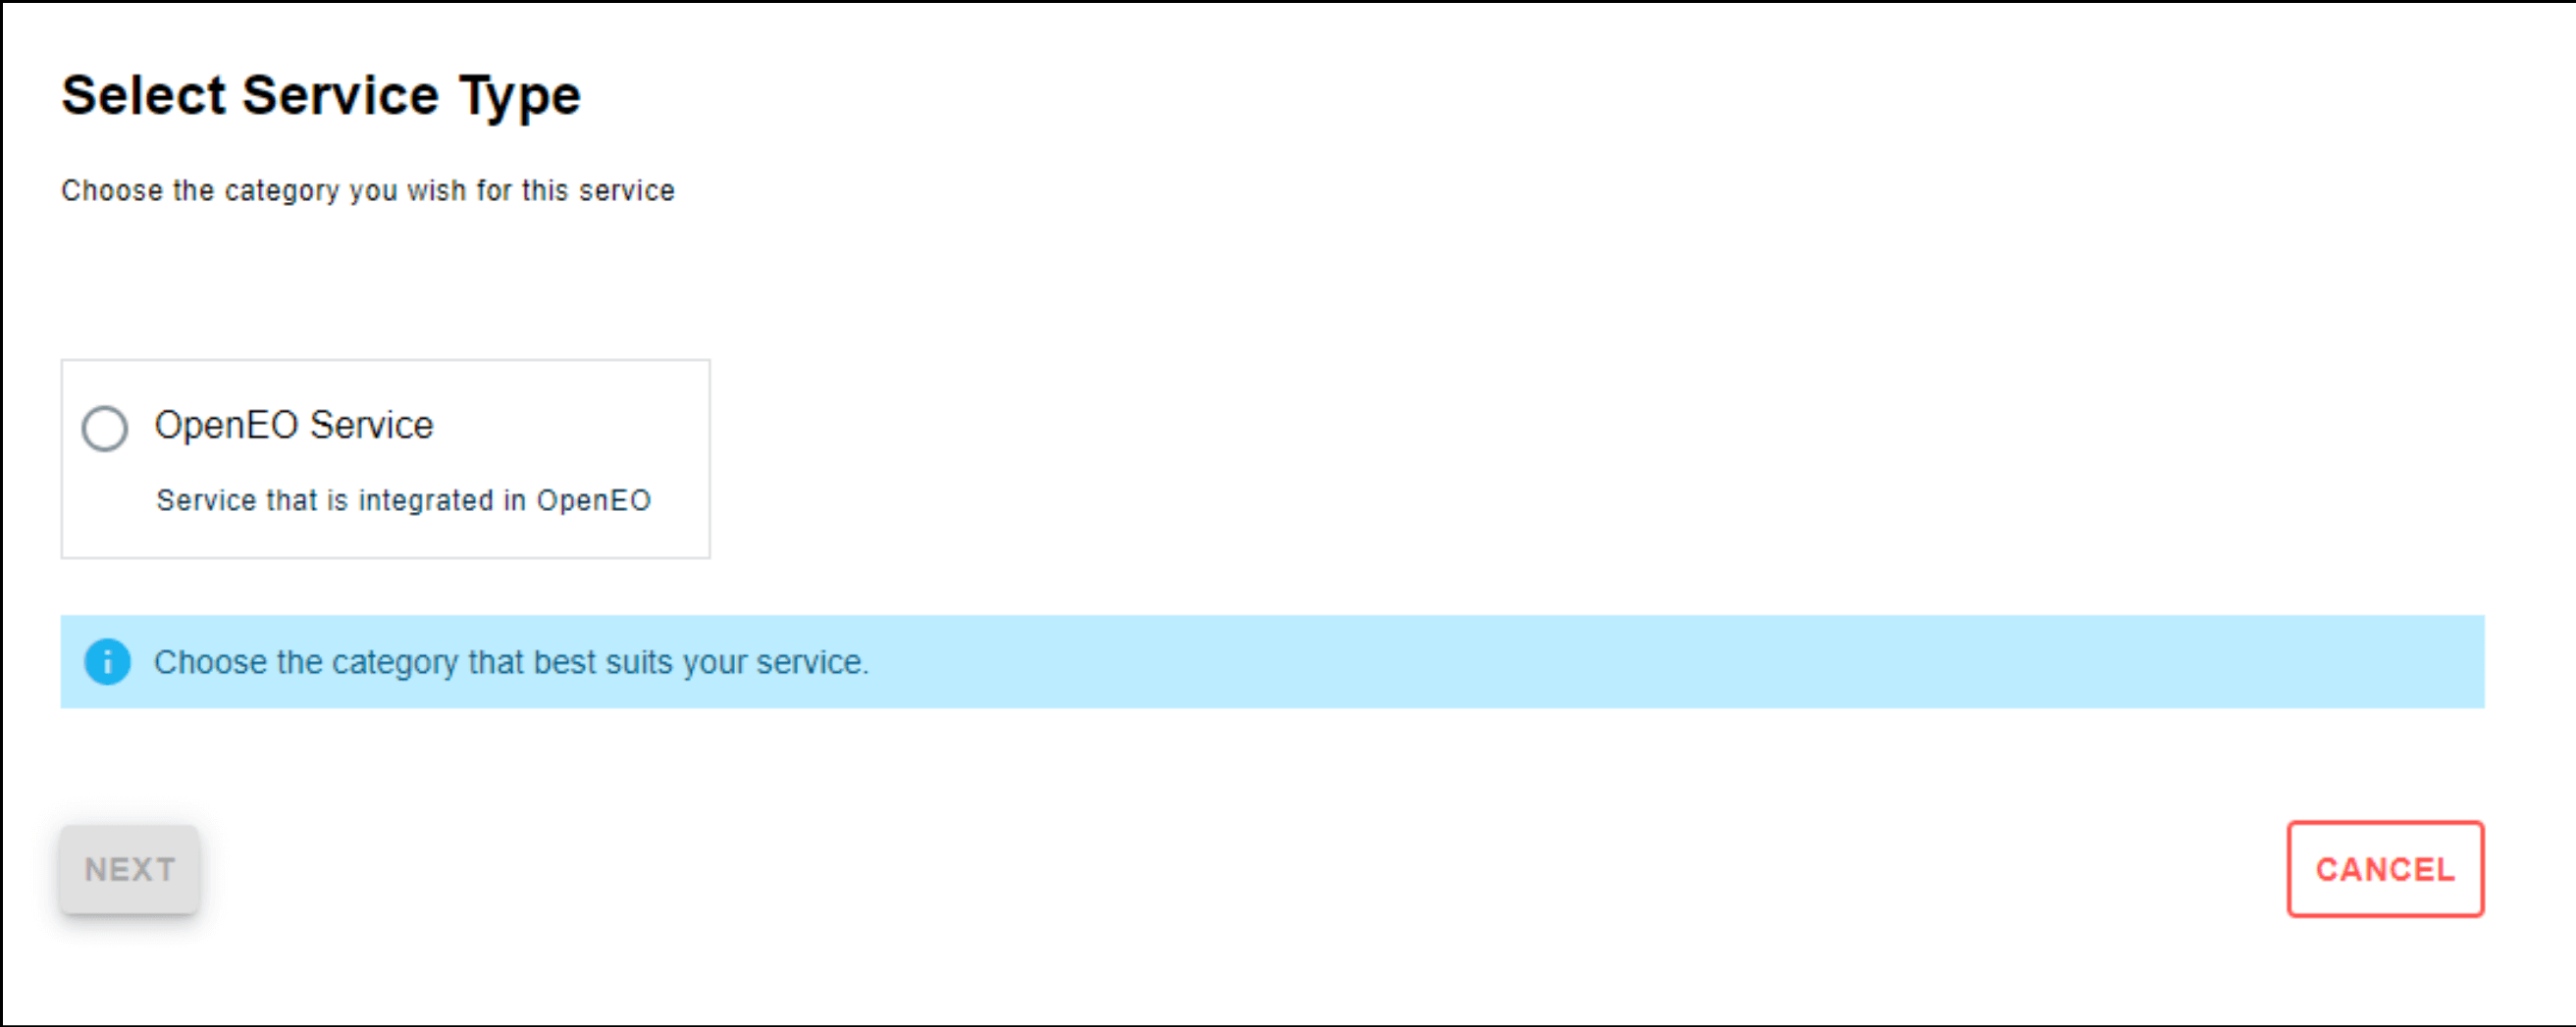
Step 1: Register your service
The first step involves selecting the type of service to publish. Currently, only those services integrated with openEO as an orchestrator are supported.
Step 2: Input general information
The following table outlines the basic information required for the service at this step:
| Field | Required | Description |
|---|---|---|
| Service name | Yes | service’s title displayed in the catalogue. |
| Summary | No | Short description of the service. |
| Description | No | The service description starts with an overview of the algorithm and a brief description of the methodology. It lists required parameters and includes examples and output images for user guidance. |
| Avatar | No | URL to an image that can be used as an avatar of your service. |
Step 3: Additional Sections
In addition to the basic information mentioned above, a developer can provide the necessary details about their service. The following sections are available:
- Parameters: A list of all the parameters that should be fed to the service to execute it. Each parameter’s name, type, description, and default value are specified.
- Usage example(Python code): A Python code example to demonstrate how to use the service. The example should include the service’s input parameters and the expected output.
- Results: Service’s results and it is supported output format.
- Cost Estimation: Estimating the resource consumption and time required to run the service for a given input.
- References: A list of references to publications, websites, or other resources relevant to the service.
Step 4: Add labels
Multiple labels can be added for a service to help users find the service within the platform. These labels serve as filters within the marketplace and indicate the service’s category.
Step 5: Select service visibility
The service can be designated as either public or private. If set to public, it will be visible to all users in the EOplaza. On the other hand, only the developer and organization members can access the service if set to private.
Click on REGISTER SERVICE to finish the basic registration. Finishing the basic registration enables the developer to provide more details on the service by either clicking the NEXT button or REMOVE to delete the service or even BACK TO SERVICE to exit the editing of the service.
Step 6: Add Media Files and Links
Images uploaded in the Media Files and Links section are displayed as the service’s avatar on the catalogue. Additionally, multiple URLs can be specified and shown in the detailed information of the service.
Step 7: Add openEO Settings
In the openEO Settings section openEO namespace and service ID of the service should be filled in. Entering this information enables the Access Service button, allowing visitors of EOplaza to execute the service through the openEO Web Editor. The required information is represented in the following table:
| Field | Required | Description |
|---|---|---|
| Namespace | Yes | Namespace of openEO service. When the service was created through a User Defined Process (UDP), the namespace is formatted as u:<publisher username/id>. This information can be extracted from the public URL when creating and sharing the UDP through openEO. |
| Service name | Yes | Name of the service as shared within openEO. For a User Defined Process (UDP), the service name corresponds with the ID of the service. |
Congratulations! The service has been successfully published in the EOplaza. It can now be viewed and shared with others. Furthermore, it is recommended that developers go through the Manage a Service documentation to learn how to manage the service.